Staying hydrated is undoubtedly the number one priority while participating in an ourdoor event. This means we must, not only have a reliable hydration bladder, but a clean one as well. Here is a quick 5 step-by-step guide on how to clean your hydration bladder.
Step 1: Remove your Bladder
This is probably quite self-explanatory. Just be sure that when you remove a bladder from the RaveRunner®, that you do so gently. Push the plastic neck in, from the outside, while you pull the bladder out of the access point simultaneously.

Step 2: Find a Clean Sink
That’s right, a clean sink! This is your opportunity to finally do those dishes that have been hanging out for a couple days now! I recommend giving your sink a scrub down as well. You may fumble your bladder cap into the sink, and you’d want that to be clean, right? Also, be sure to cover the drain so you don’t lose your nozzle!

Step 3: Fill it up with Soap and Hot Water
This part is easy, but can cause a mess if you are clumbsy. Put a little bit of dish soap into you bladder. Be careful as you don’t need THAT much to clean it thouroughly. Now turn on the sink and fill the bladder with water. I would say just until the bladder is about 3/4 of the way filled. You’ll need space to be able to shake the water around inside the bladder.

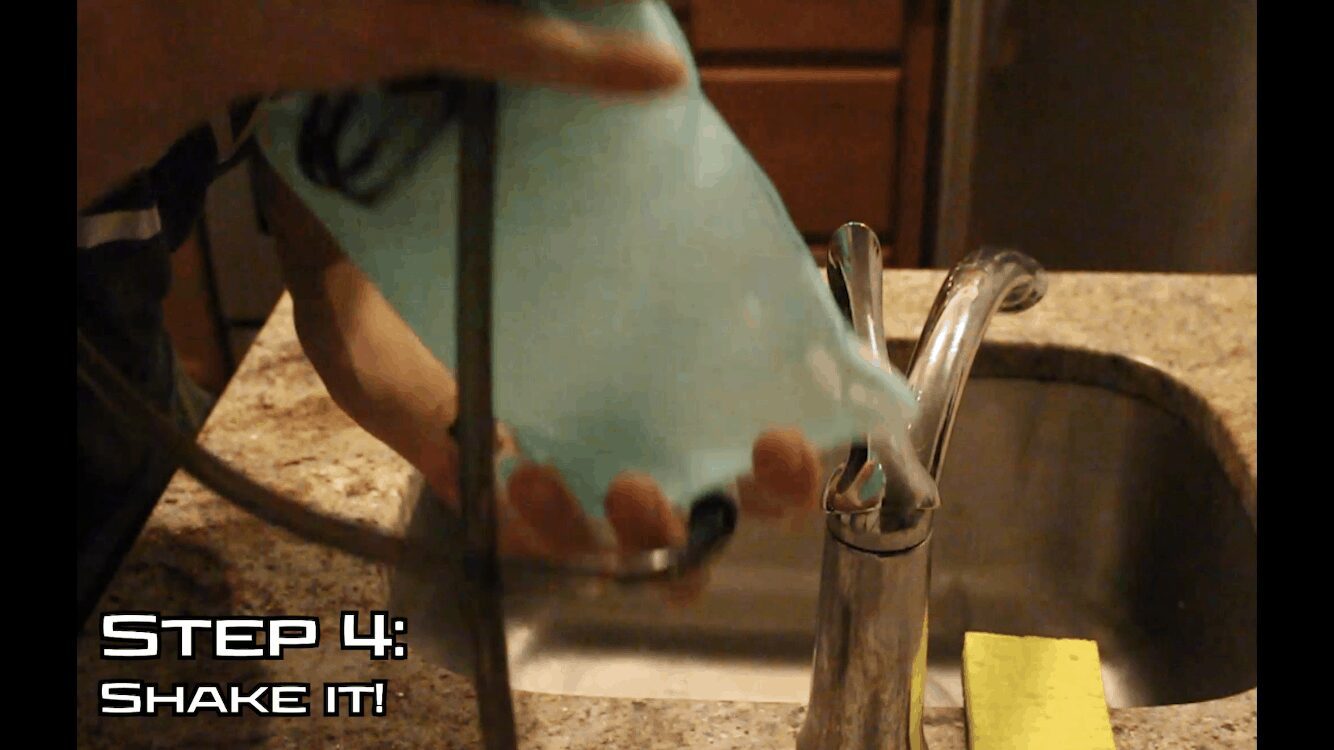
Step 4: Shake It!
Shake it! This will allow the soap to get in all the spots it usually wouldn’t be able to. If you can rub the walls of the bladder together, that would be even better. By doing this, you’ll scrape off any grime that has built up!
Although, we hope your bladder has never gotten this dirty.
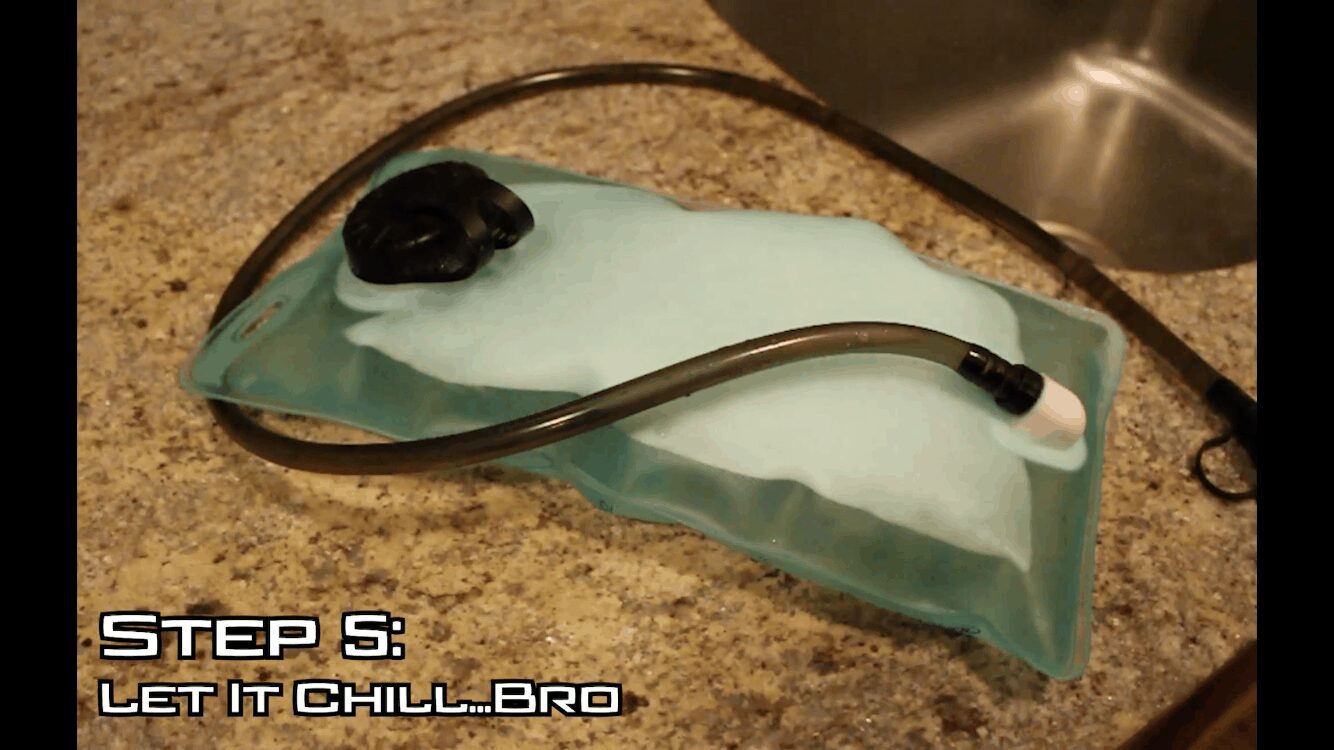
Step 5: Let It Chill…Bro
Seriously, let it sit for 30 minutes. I usually find myself cleaning my hydration bladder an hour before I believe. This gives me time to scramble and shove everything in my suitcase. Go through your checklist. Wallet? Tickets? Snacks?
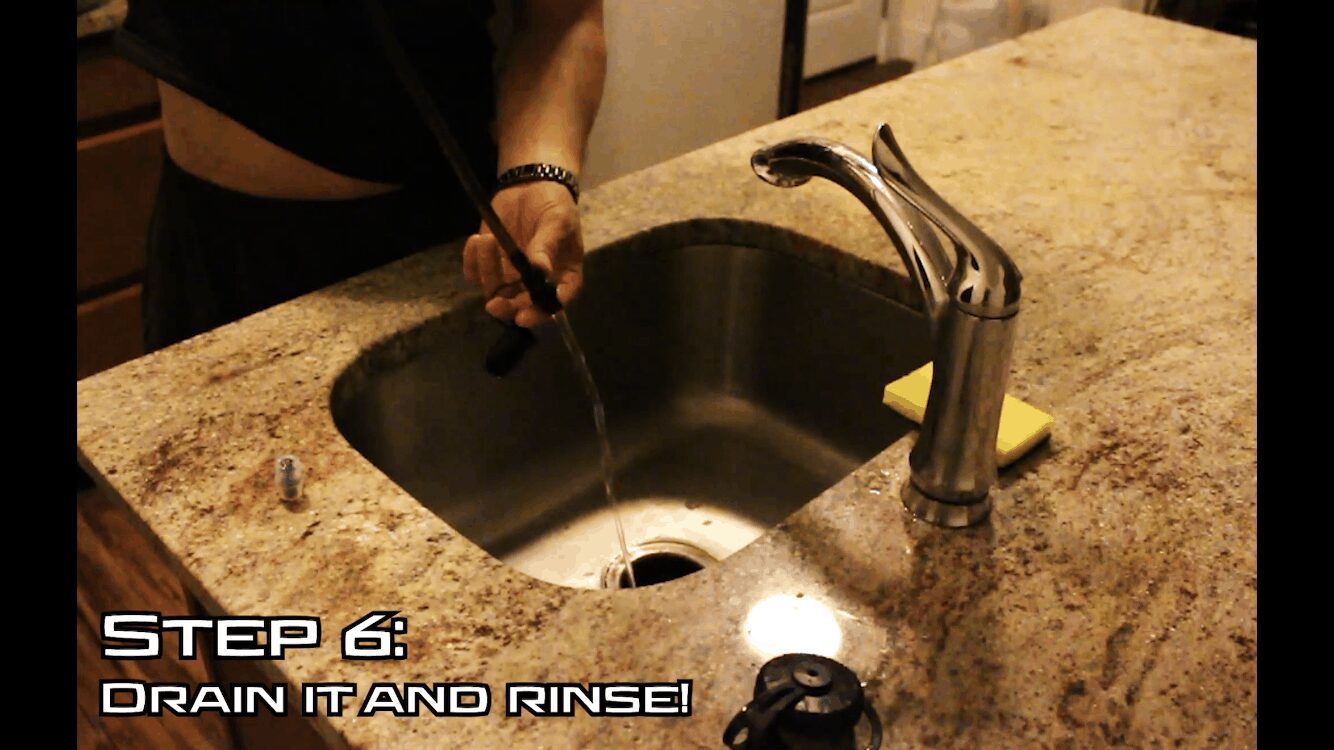
Step 6: Drain It!
Now, this part may SEEM easy, but I think I make a mess everytime. Instead of pouring all of the water out via the cap, Hold the entire bladder up high with one hand and hold the tube with the other. Remove the nozzle and let all of the water flow out of the tube. This will allow the tube to be cleaned by the soapy water. If you are having trouble doing this, no problem. Take the tube off of the bladder and clean it seperatley.
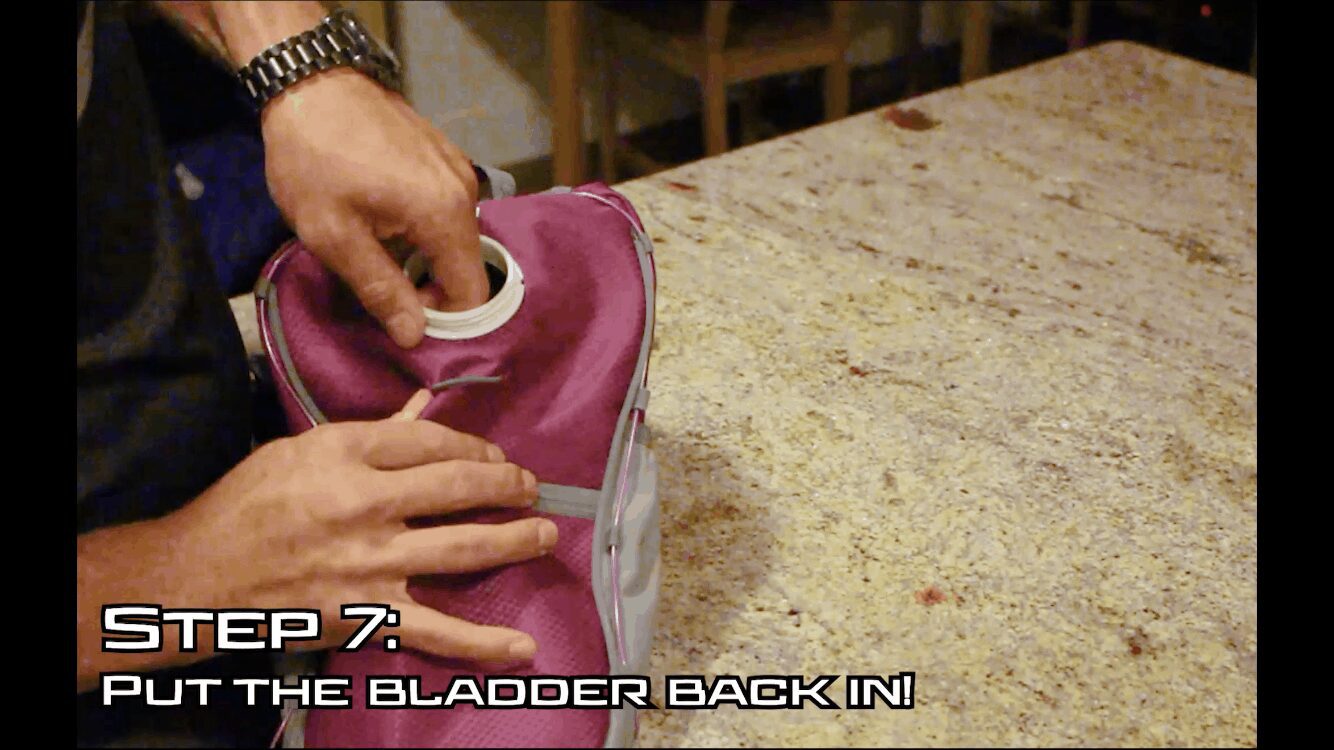
Step 7: Replace it in your Pack!
Take your time replacing your bladder back in your pack. With the RaveRunner®, it is super important that you push the bladder neck lip OVER the fabric. This will stop the bladder from falling through the access hole. Now your all set! Go have some fun, there’s a good chance you deserve it.


Leave a Reply